DIY PVC Bow Rack for Target Shooting
Lightweight – Inexpensive – Easy to Build
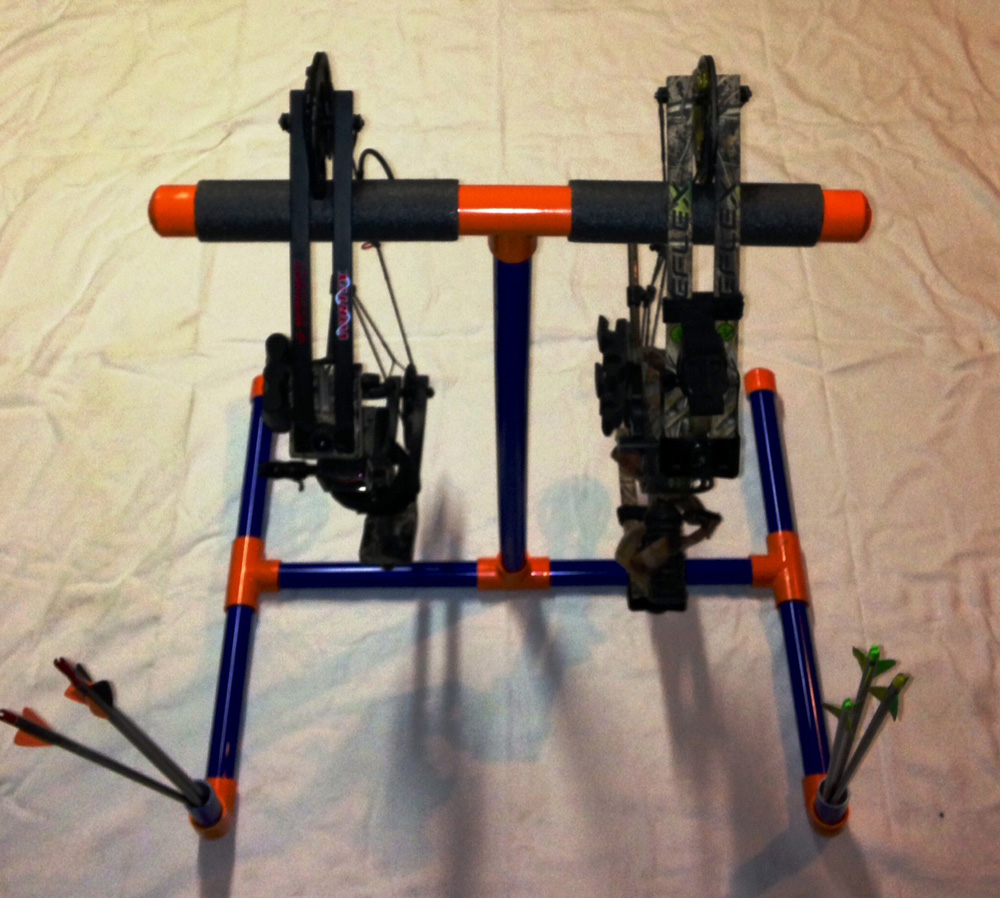
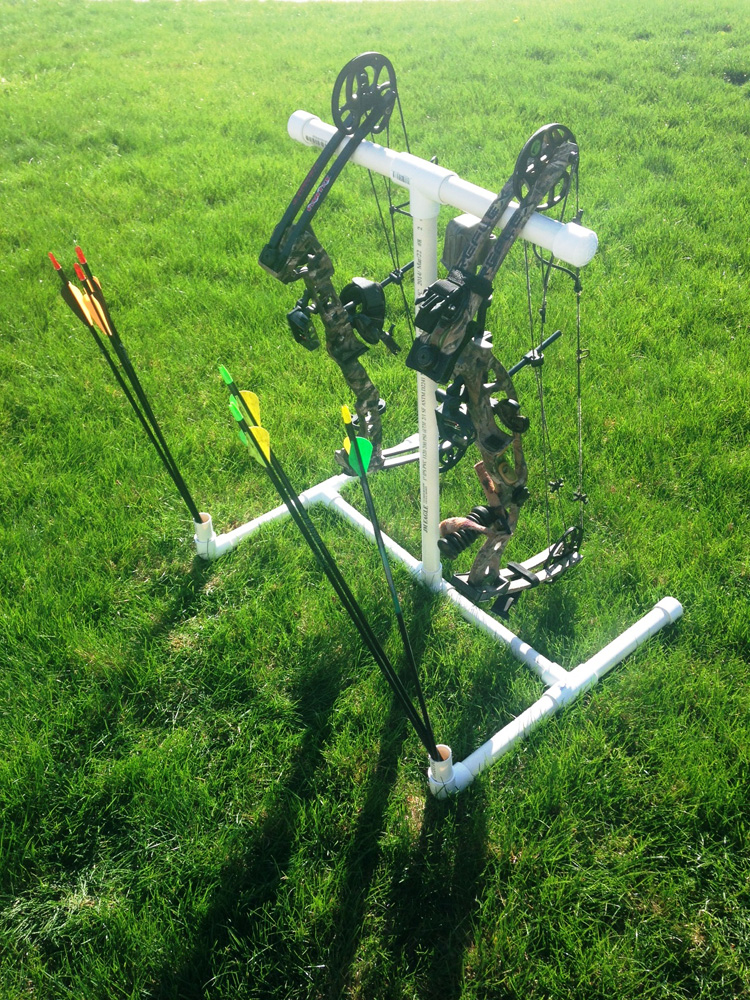
When you’re out on the archery range or in your backyard targeting shooting, getting ready for the upcoming hunting season, how many times do you find yourself trying to find a place to set your bow down while you retrieve your arrows? I know it can be inconvenient to find such a place where you don’t get your bow dirty. Well, not anymore! This simple and inexpensive bow rack is just what you need to keep your bow off the ground and a place to put your arrows while target shooting. This simple DIY tutorial will line out everything you need to build your own Bow Rack right at home.
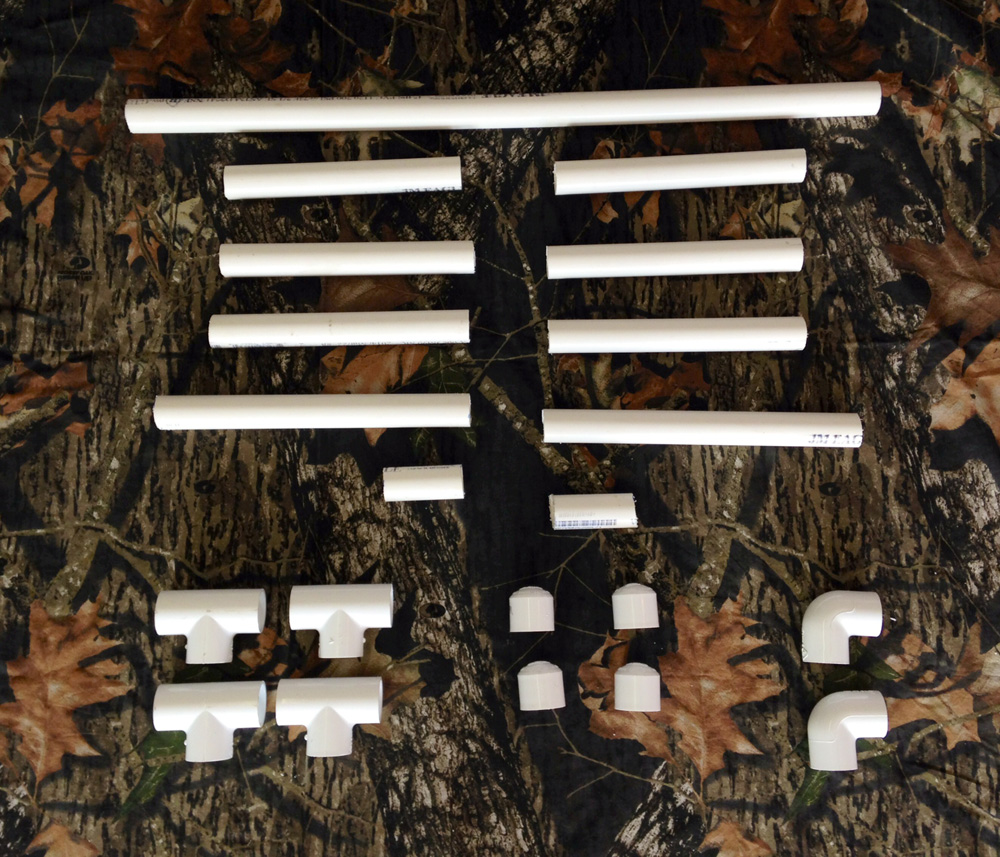
• 1 – 10’ stick of 1” PVC
• 4 – 1” PVC T’s
• 2 – 1” PVC 90 degree elbows
• 4 – 1” PVC end caps
• PVC cement
• PVC cement primer or sand paper
• Foam insulation for 1” copper pipe
• Hack saw or sawsall
• Tape measure
• Spray paint (optional)
Measurements
These measurements can be adjusted based on the overall length of your bow, since not all bows are created equally.
Measure out and cut the following lengths form the 10’ stick of PVC:
• 1 @ 30”
• 2 @ 12”
• 6 @ 10”
• 2 @ 3”
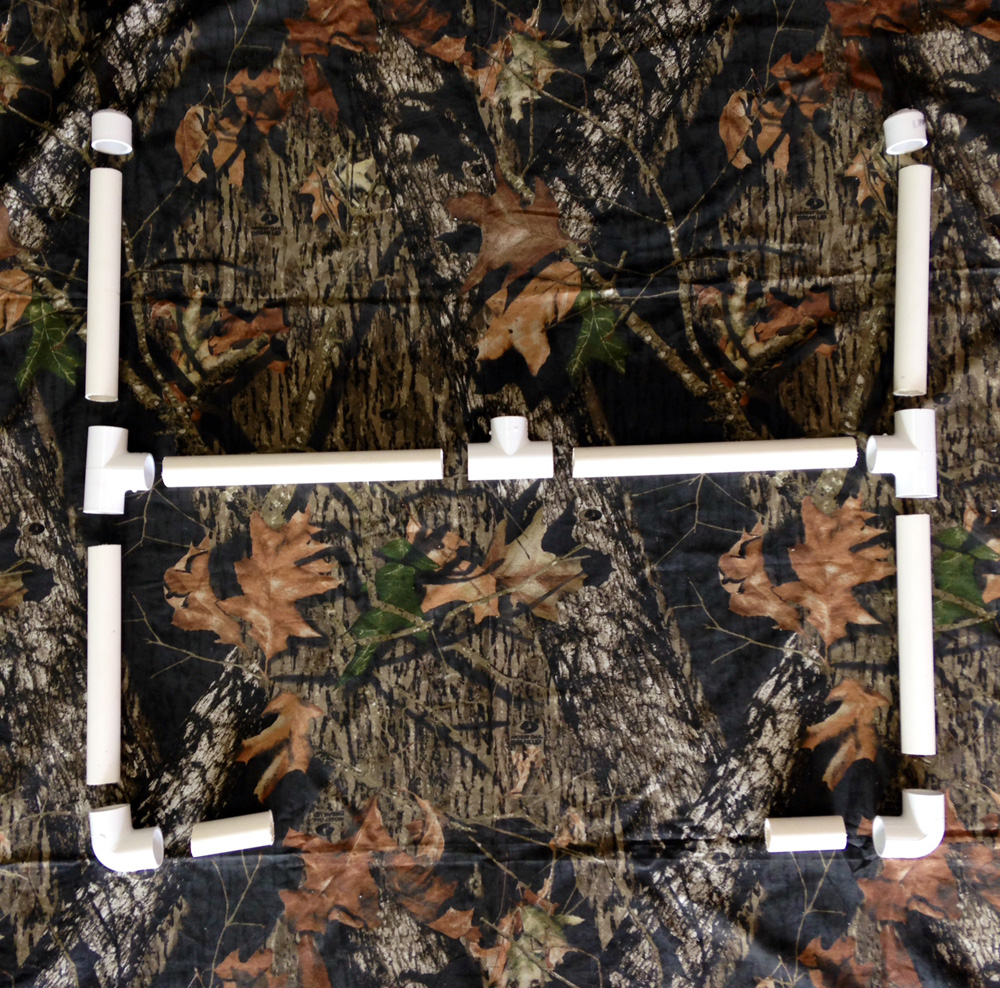
Base Configuration:
• 2 – 12” sticks (middle)
• 4 – 10” sticks (outer legs)
• 2 – 3” sticks (arrow holders)
• 3 – T’s
• 2 – 90 degree elbows (arrow holders)
• 2 – end caps
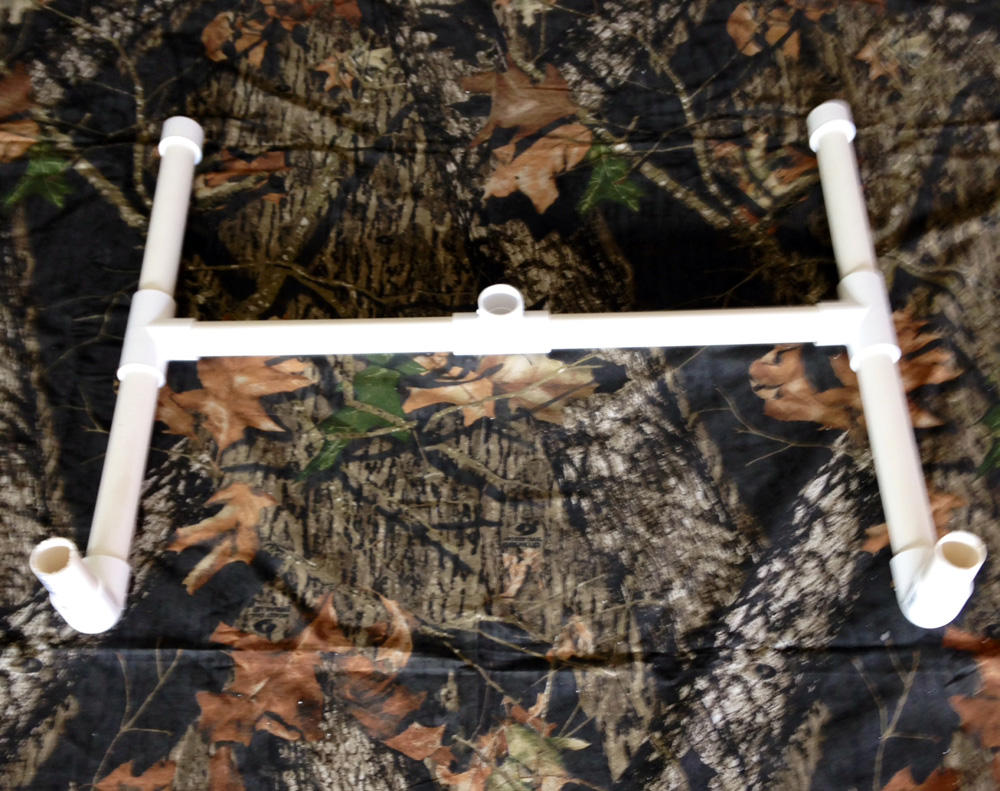
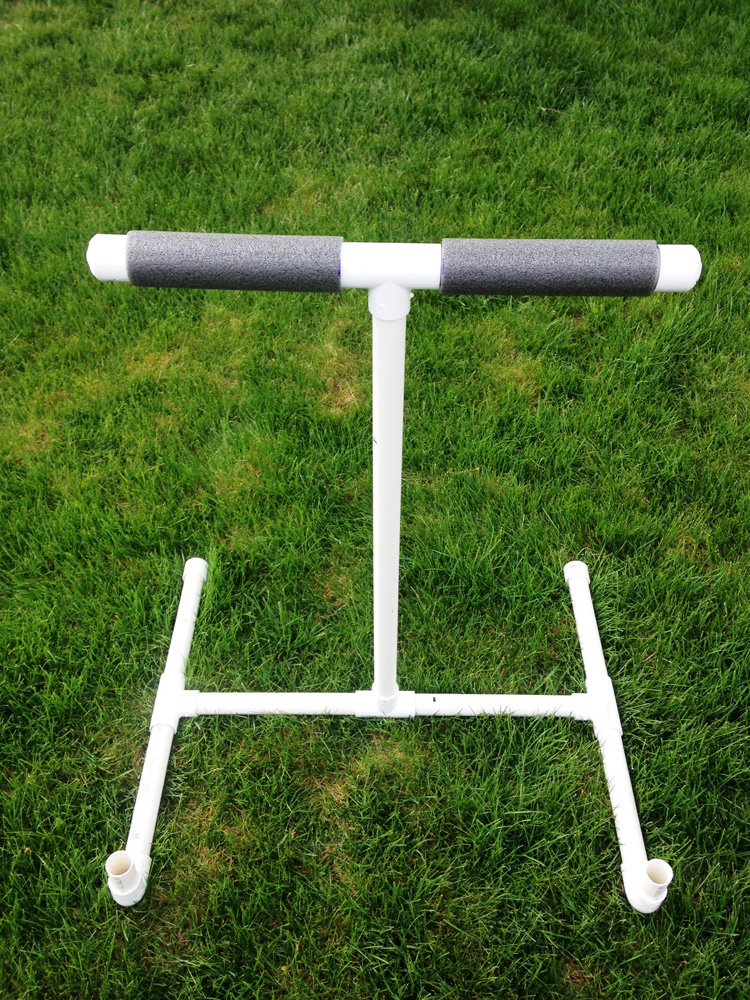
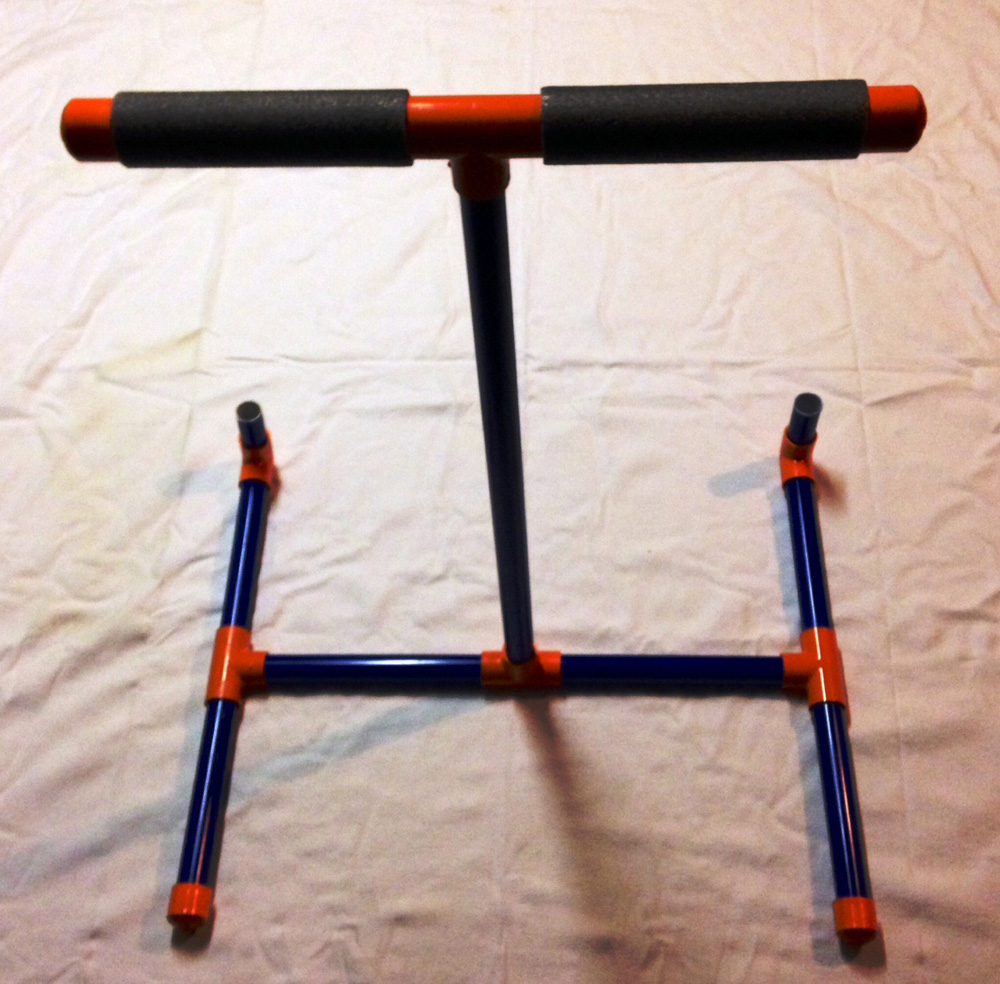
Use one ‘T’ fitting in the middle with the ‘T’ point up for the top portion to fit into. Use the 12” pieces to extend out of the middle ‘T’ and into the two outside ‘T’s for the legs. Insert the 10” pieces into the outside ‘T’s on both sides. Choose a side to be the front of the rack where your arrows will be placed. Connect the 90 degree elbows to the other end of the 10” pieces and point them up. Insert the 3” pieces into the other end of the 90 degree elbow. Finally, use the end caps on the other 10” pieces to complete the base.
Top or Rack Configuration:
• 1 – 30” stick (may be longer depending on bow length)
• 2 – 10” sticks
• 1 – T
• 2 – end caps
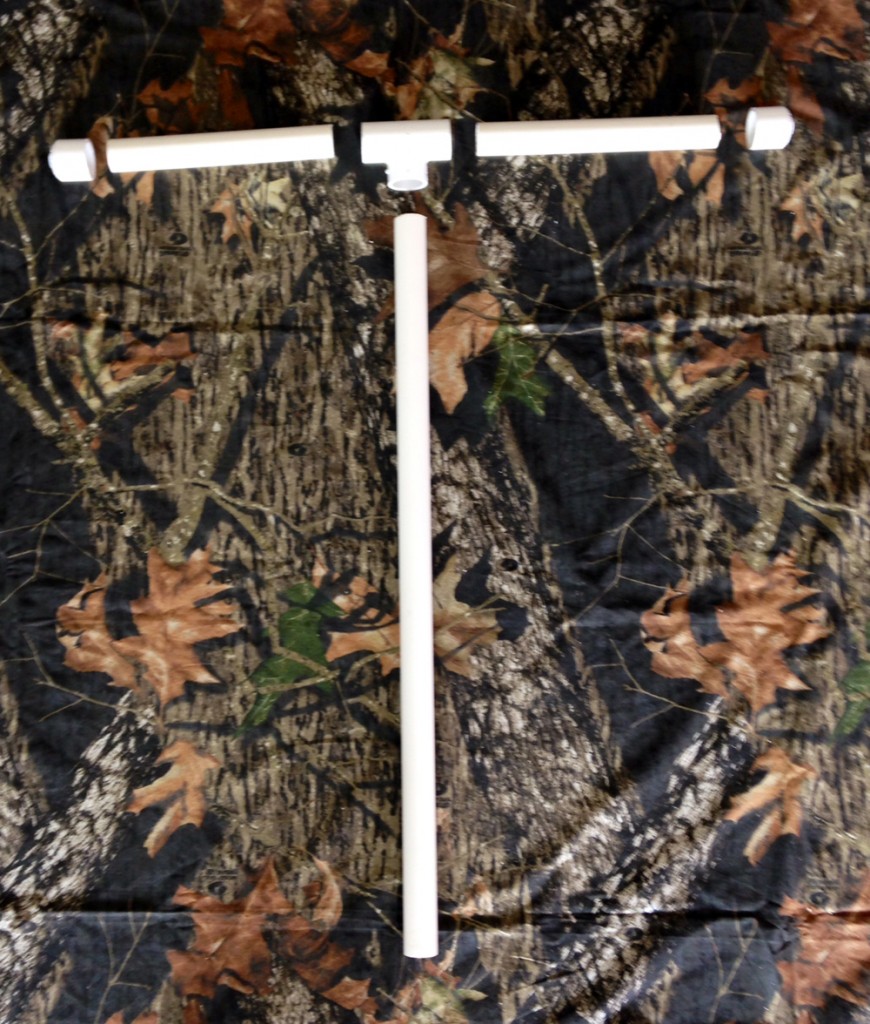
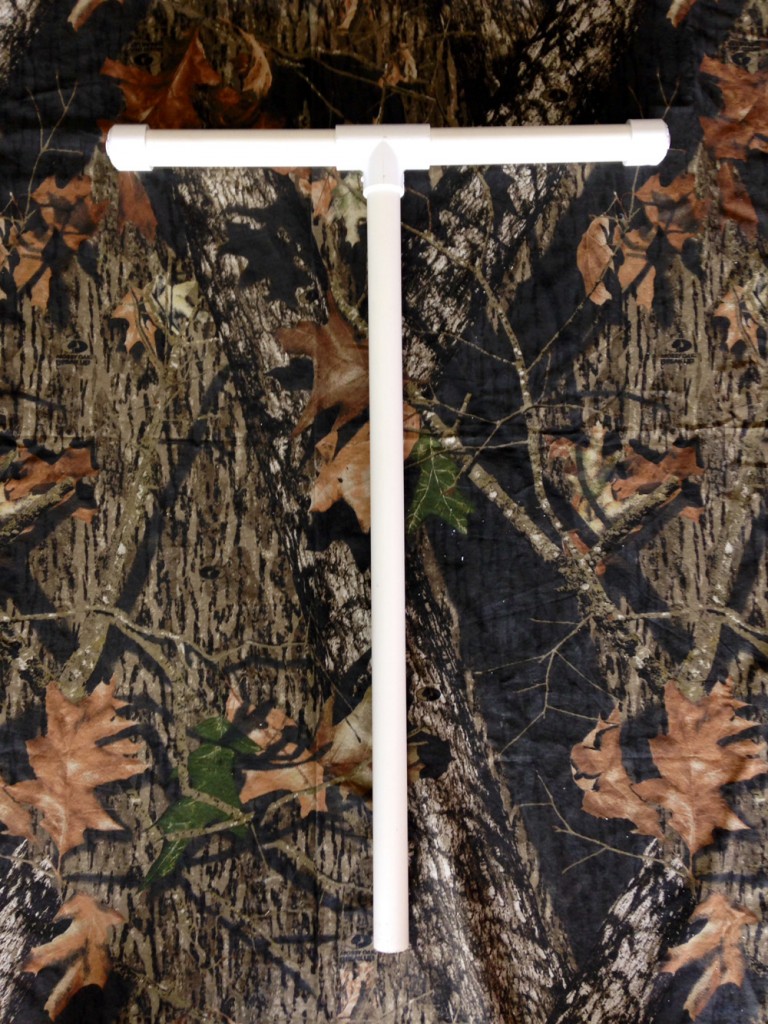
Now, connect the 30” piece to the bottom end of the ‘T’ fiiting and the two 10” pieces to the remaining open ends of the ‘T’ fitting. Place the end caps on the other end of the 10” pieces to complete the top portion of the rack.
Overall Configuration:
Fit everything together before cementing or gluing anything to make sure everything looks right. Once you are satisfied with the setup you can now cement the base and top portion separately. I recommend not gluing the top portion to the base for easy storage, but that is up to you. I also recommend not gluing the top portion end caps on in order to make it easy for the foam replacement.
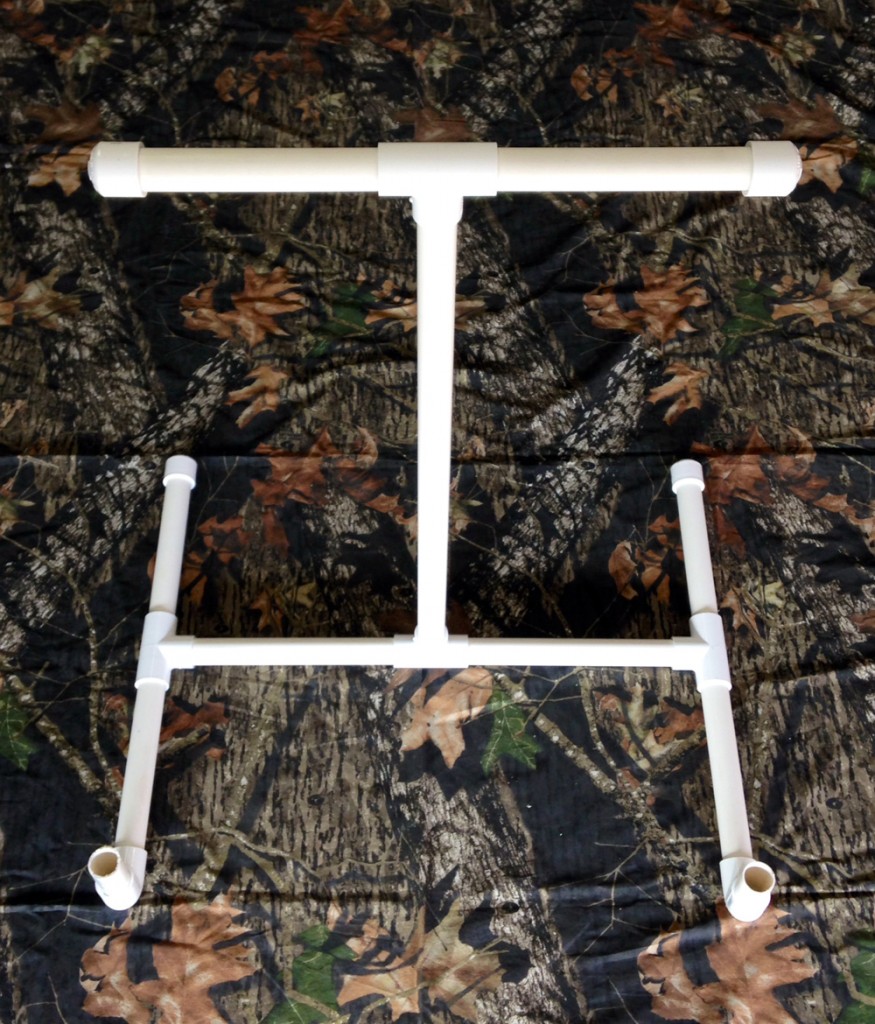
Speaking of the foam, which is optional but nice to have, measure the distance between the top portion ‘T’ and the end caps on each side for the foam. Cut the foam according to the measurements and slide them on each side and replace the end caps.
Once you have painted it the way you want it and glued everything together you are ready to go! It’s that simple!


Leave a Reply